Abstract
The teaching of harmonic foundations in music is a common learning objective in many education systems. However, music theory is often considered as a non-interactive subject matter that requires huge efforts to understand. With this work, we contribute a novel tangible device, called ScaleDial, that makes use of the relations between geometry and music theory to provide interactive, graspable and playful learning experiences. Therefore, we introduce an innovative tangible cylinder and demonstrate how harmonic relationships can be explored through a physical set of digital manipulatives, that can be arranged and stacked on top of an interactive chromatic circle. Based on the tangible interaction and further rich visual and auditory output capabilities, ScaleDial enables a better understanding of scales, pitch constellations, triads, as well as intervals. Further, we describe the technical realization of our advanced prototype and show how we fabricate the magnetic, capacitive and mechanical sensing.
Publication
@inproceedings{Klamka2019,
author = {Konstantin Klamka and Jannik Wojnar and Raimund Dachselt},
title = {ScaleDial: A Novel Tangible Device for Teaching Musical Scales \& Triads},
booktitle = {CHI Conference on Human Factors in Computing Systems Extended Abstracts},
year = {2019},
month = {5},
isbn = {978-1-4503-5971-9/19/05},
location = {Glasgow, UK, Scotland},
numpages = {4},
doi = {10.1145/3290607.3313238},
publisher = {ACM},
address = {New York, NY, USA},
keywords = {music education, tangible, physical computing, scales; keys, intervals, triads, TUI, digital manipulatives}
}Weitere Materialien
, Video
Video
The following video shows our system in action.

In a hurry? We also have a 30-second preview video.
Learning Objectives
Typical curricula for music education include:
- Scales and Pitch Classes
e.g., major, minor, chromatic, whole-tone and pentatonic scales - Triads and Intervals
e.g., minor, major, diminished and augmented triads
Interaction
In the following, we briefly describe the interactions of our system. Further details can be found in the paper.
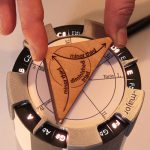
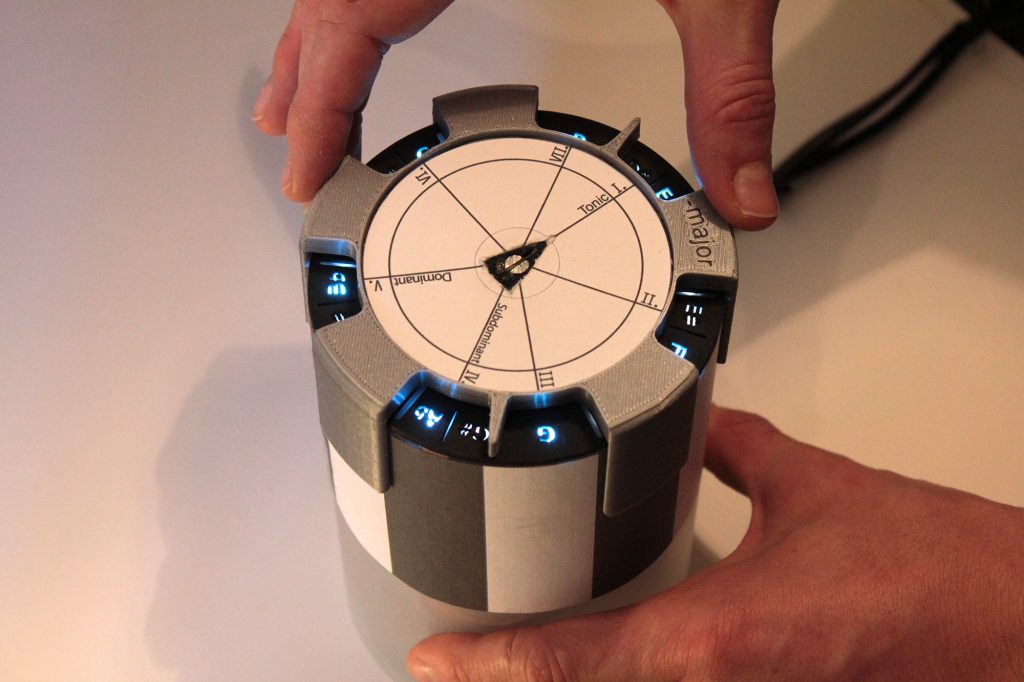
Explore the chromatic scale
- A pupil can touch every lateral key like a wrapped piano keyboard.
- The respect note sound is played and the note name lights up on top.
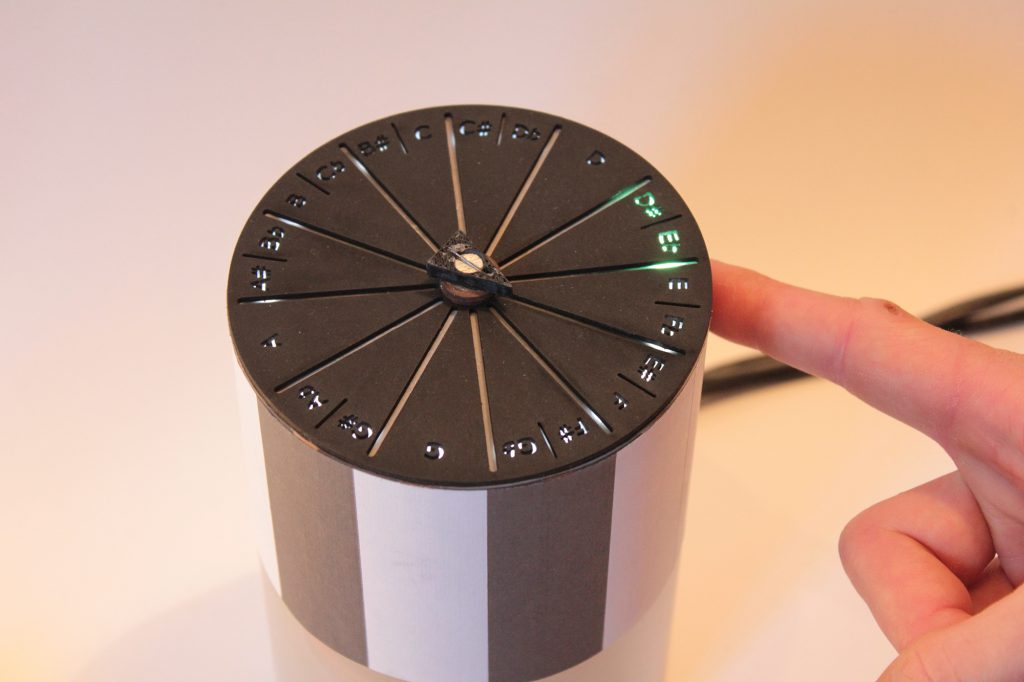
Apply pitch constellation
- A pitch constellation, such as major, minor or pentatonic can be applied on the chromatic scale cylinder.
- Therefore, a pupil can simply stack the respective scale cap on top
Select a pitch
- The pupil can explore and select a specific pitch by rotating the scale cap.
- An audio-visual animation shows the current selection.
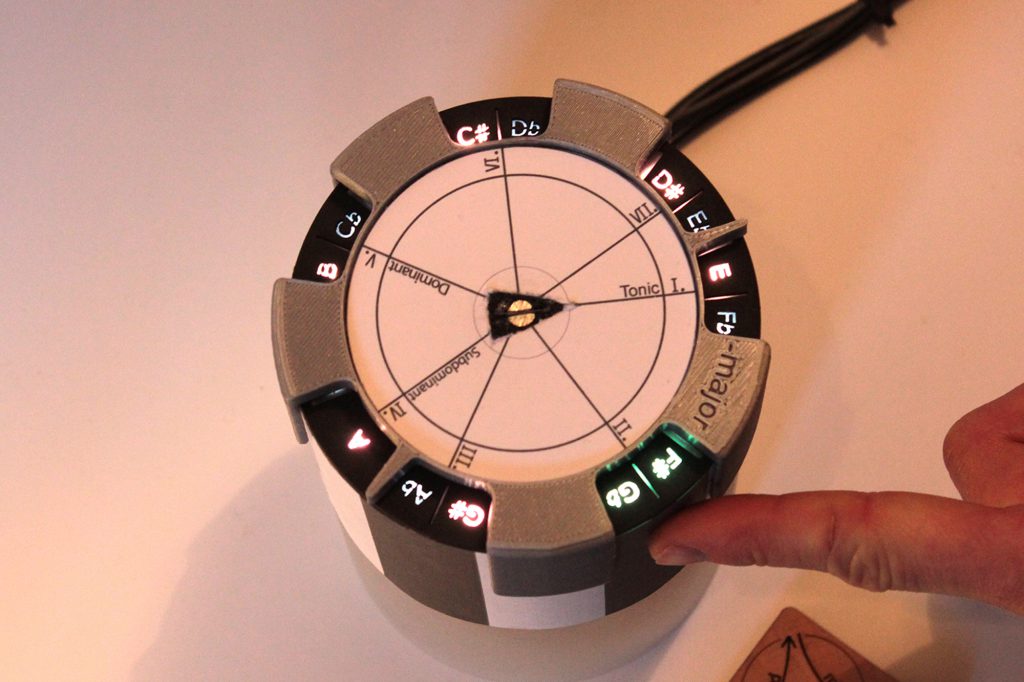
Explore scale
- Every note in the scale can be accessed via touch.
- Notes outside the selected scale are covered with extruded segments of the scale cap. However, they are also accessible at a lower region. This could be useful if a pupil want to test or compare some notes even they are not in the scale.
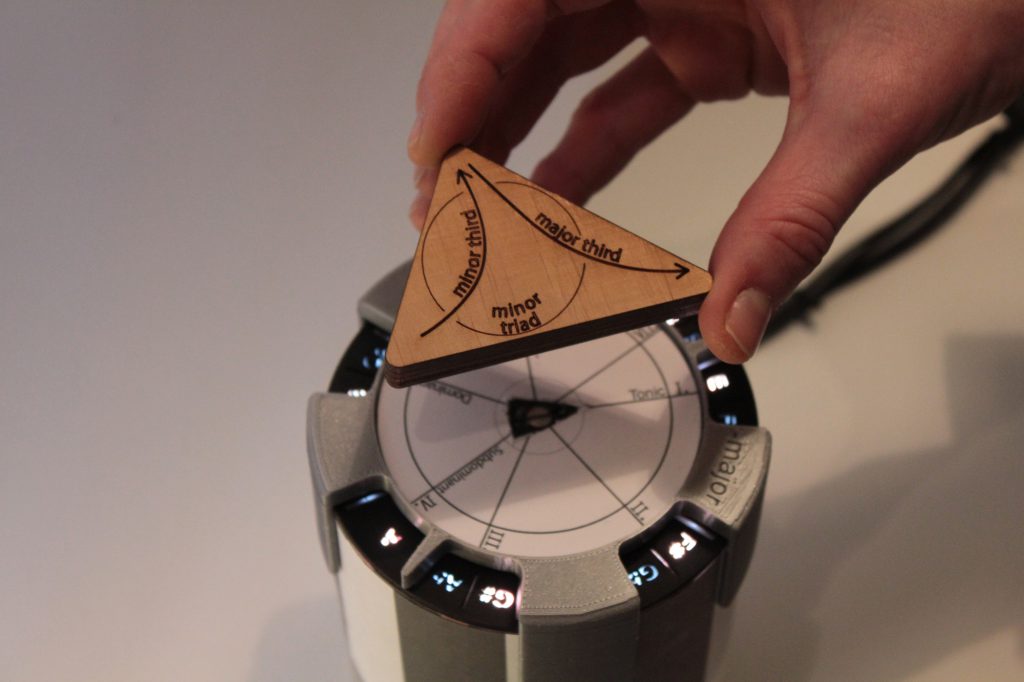
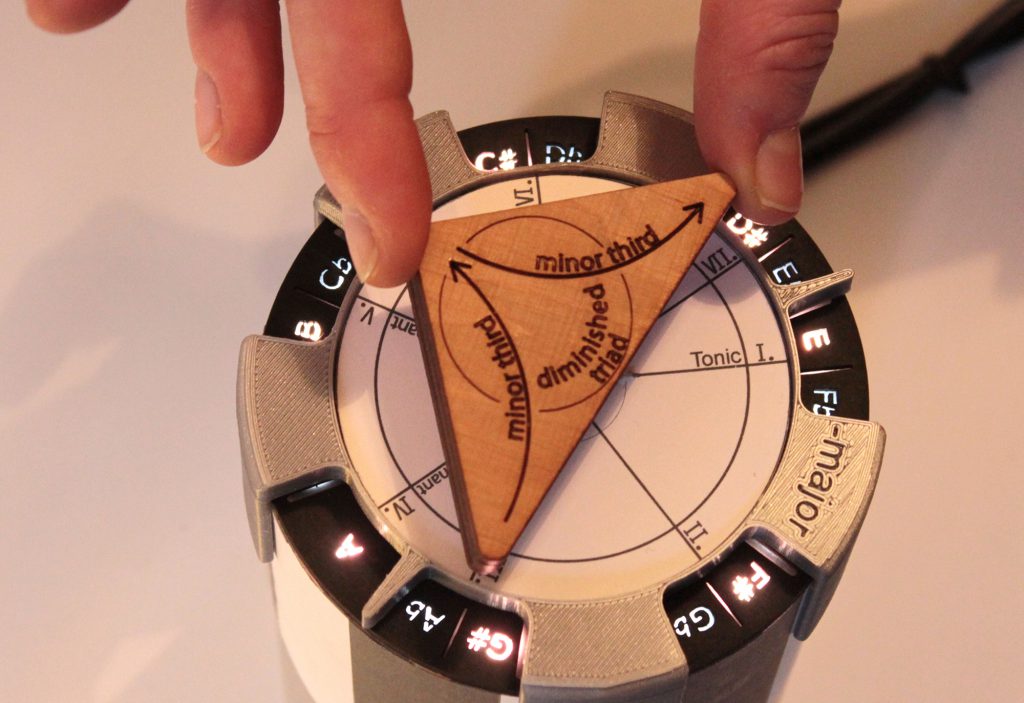
Apply a specific triad type on top
- We fabricated four wooden triads (minor, major, diminished and augmented) that can be placed on top of our chromatic scale cylinder. Our system recognizes every type and plays the repsective sound of the token and its current position.
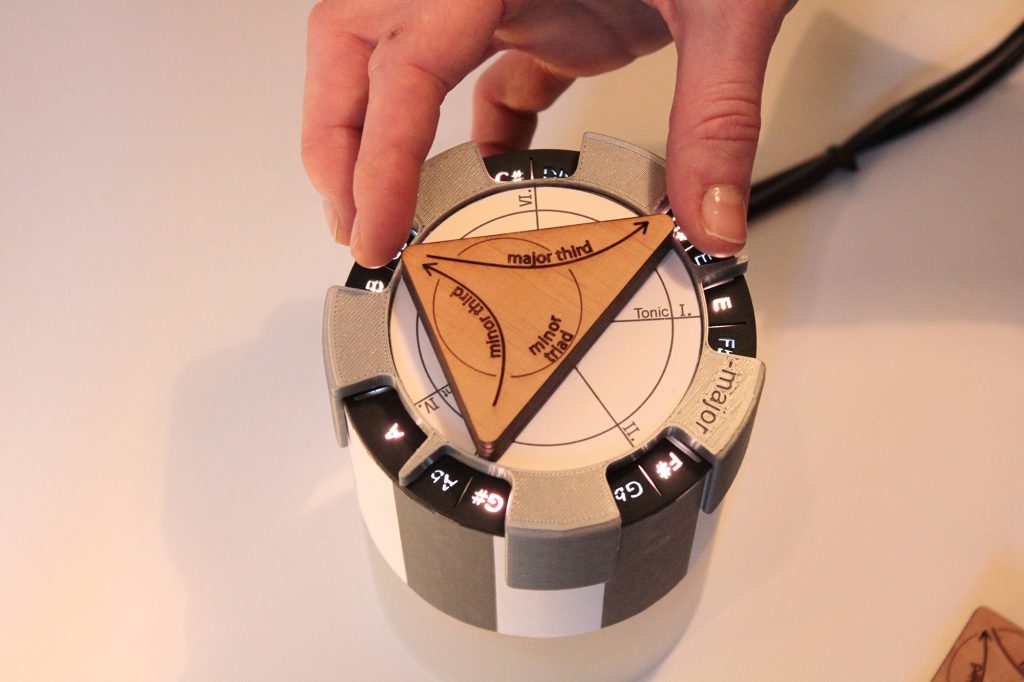
Rotate triad tokens
- Every triad token can be rotated in twelve positions along the chromatic scale to explore different sounds.
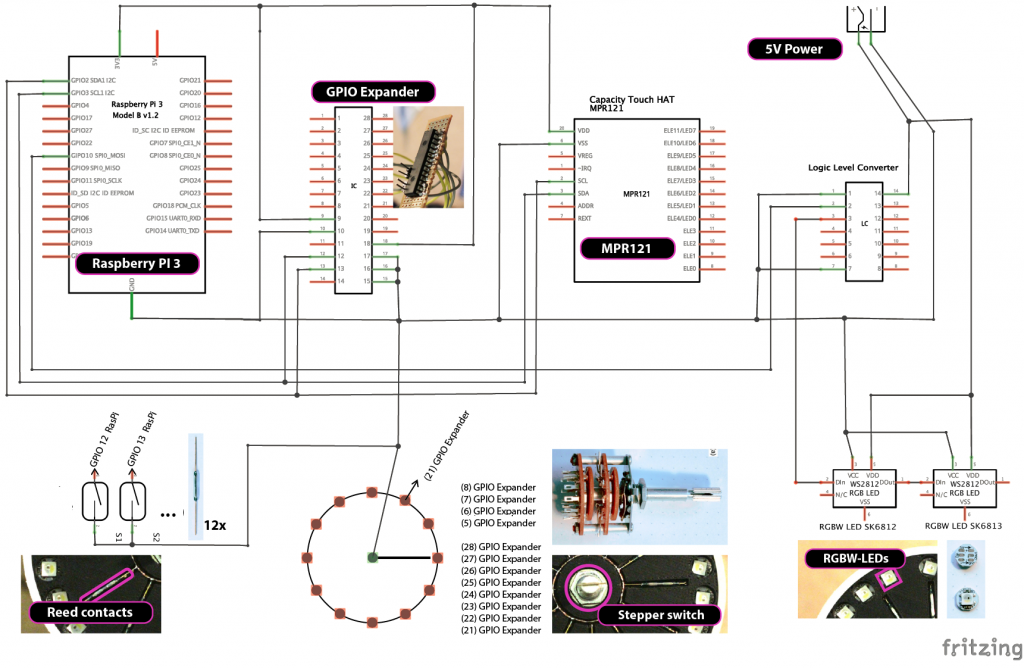
Circuit Diagram
The schematic shows how the ScaleDial hardware components work.
Part List
The following table lists all components that we used to fabricate our ScaleDial prototype.
| Image | Part | Description |
|---|---|---|
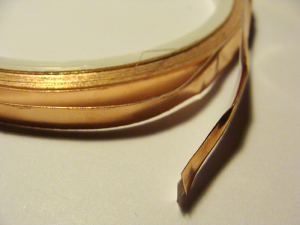 |
Copper Tape | We used adhesive copper tape to realize the capacitive sensing of the lateral keys of our ScaleDial prototype. |
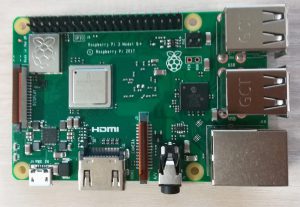 |
Raspberry PI (Raspberry Pi 3 B+) |
In order to sense the magnetic triad tokens with based on the built-in reed sensors and handle the capactive touch input of our lateral keys, we used a Raspberry PI 3 B+. In addition, the Raspberry PI manages and plays all sounds. |
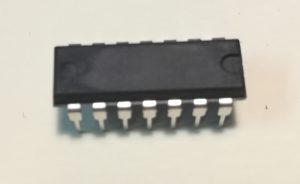 |
Logic Level Converter (SN 74AHCT125 N) |
Since the RGBW-LEDs that we used four ScaleDial system require a 5V logic level and the Raspberry Pi platform operates at a 3.3V logic level, we integrated a logic level converter. |
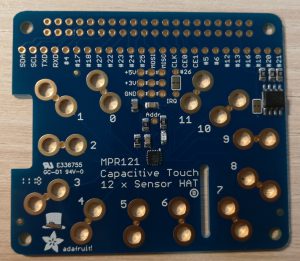 |
MPR121 (Capacitive Touch HAT for Raspberry Pi) |
To simplify the capactive sensing, we used a 12-key capacitive touch sensor breakout that based on the NXP Semiconductors MPR121 chip. The communication between the chip and the Raspberry Pi is realized via I2C. |
 |
Acrylic Cylinder | As a construction basis, we used a acrylic cylinder with a diameter of 10 centimetres. The acrylic cylinder provides a solid housing for all electrical parts and can be easily enhanced with conductive material to sense touch input with capacitive sensing. |
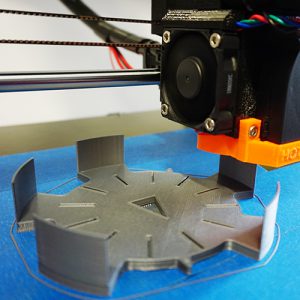 |
3D-printed parts | In order to fabricate our scale caps, we used a standard FDM 3D-printer (Prusa Research i3 MK3). In addition, we 3D-printer also other ScaleDial parts (e.g., housing for reed contacts and LEDs). This enables us to place every part at the exact correct position. The 3D models and STL files will be available soon. |
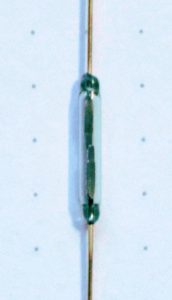 |
Reed Contacts | If a magnetic triad token moves above a reed sensor the contact is closed and we are able to detect the position. Therefore, we used twelve reed contact sensors to detect the presence and its position of the magnets that we built in our triad tokens. The size of the reed contacts is 13mmx2mm. |
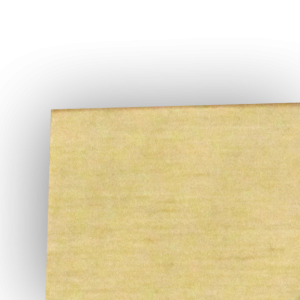 |
Wood | We laser cut all triad tokens out of four layers of birch plywood and glued them together. The wood provides unique haptic qualities und looks very nice. |
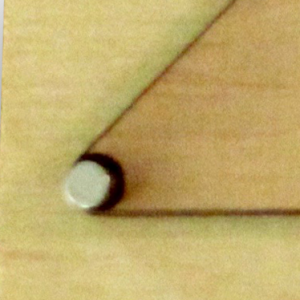 |
Magnets (Neodym 50) |
We integrated three round neodymium magnets in every triad token for magnetic sensing. Therefore, we laser cut holes in first three wood layers to place the magnets. The size of the magnets is 4x10mm |
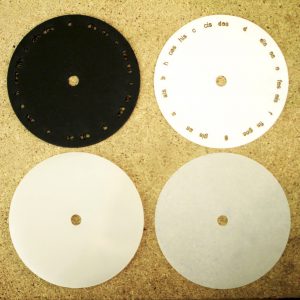 |
Cardboards | To support different notation system and languages, we covered the LED ring on top of our ScaleDial device with exchangeable diffuser and stencil masks that we laser cut. |
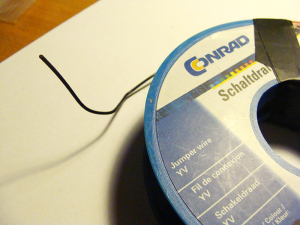 |
Wires | To connect all electrical parts, we use standard wires. |
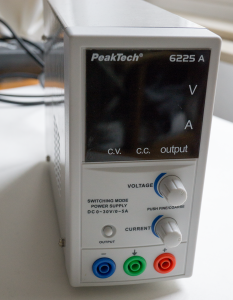 |
Power Supply | To power the Raspberry PI, the additional ICs and the LEDs we use an external 5V power supply. |
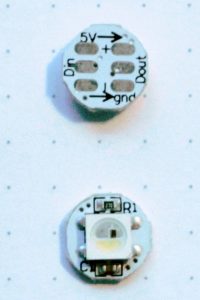 |
RGBW-LEDs (SK6812) |
We integrate 21x bus-driven SK6812 RGBW-LED that are powered with 5V. For data transmission we used an 1-wire unipolar non-return-to-zero (NRZ) communication mode. |
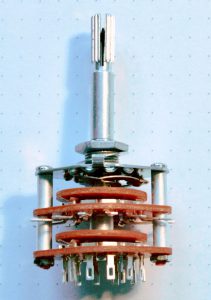 |
Stepper Switch | To sense the current position of a scale cap, we use a stepper switch with twelve discrete position. The stepper switch provides us absolute positions (instead of rotary encoder which only provide changes). This is important since our approach requires the exact position of the scale cap at any time. |
 |
GPIO Expander (MCP23017) |
To capture all positions of our stepper switch, we used a GPIO Expander to reduce the required number of GPIO of the Raspberry Pi. |
 |
Screws, Nuts, Washers, etc. | In order assembly all parts we used several metric screws, nuts and washers. |
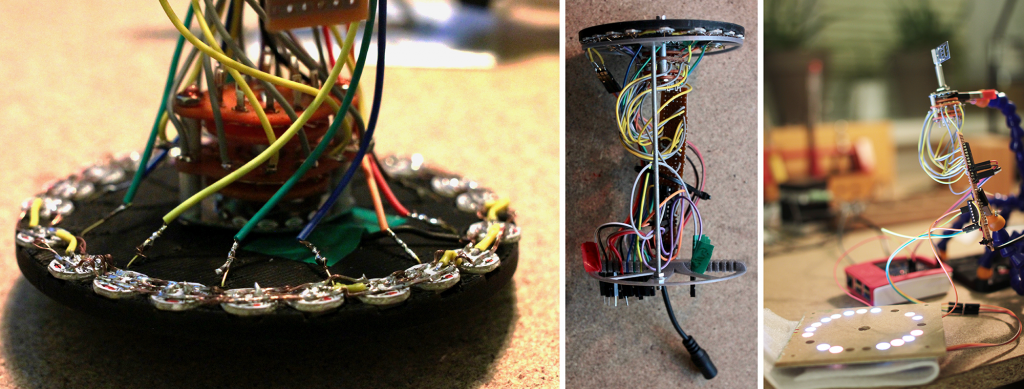
Fabrication Photos
The following pictures show some details of the internal wiring of our prototype.
Related Student Theses

Entwicklung eines innovativen Tangible User Interfaces für die Musik- und Klangvermittlung
Jannik Wojnar 31. Juli 2018 bis 16. Oktober 2018
Betreuung: Konstantin Klamka, Raimund Dachselt